
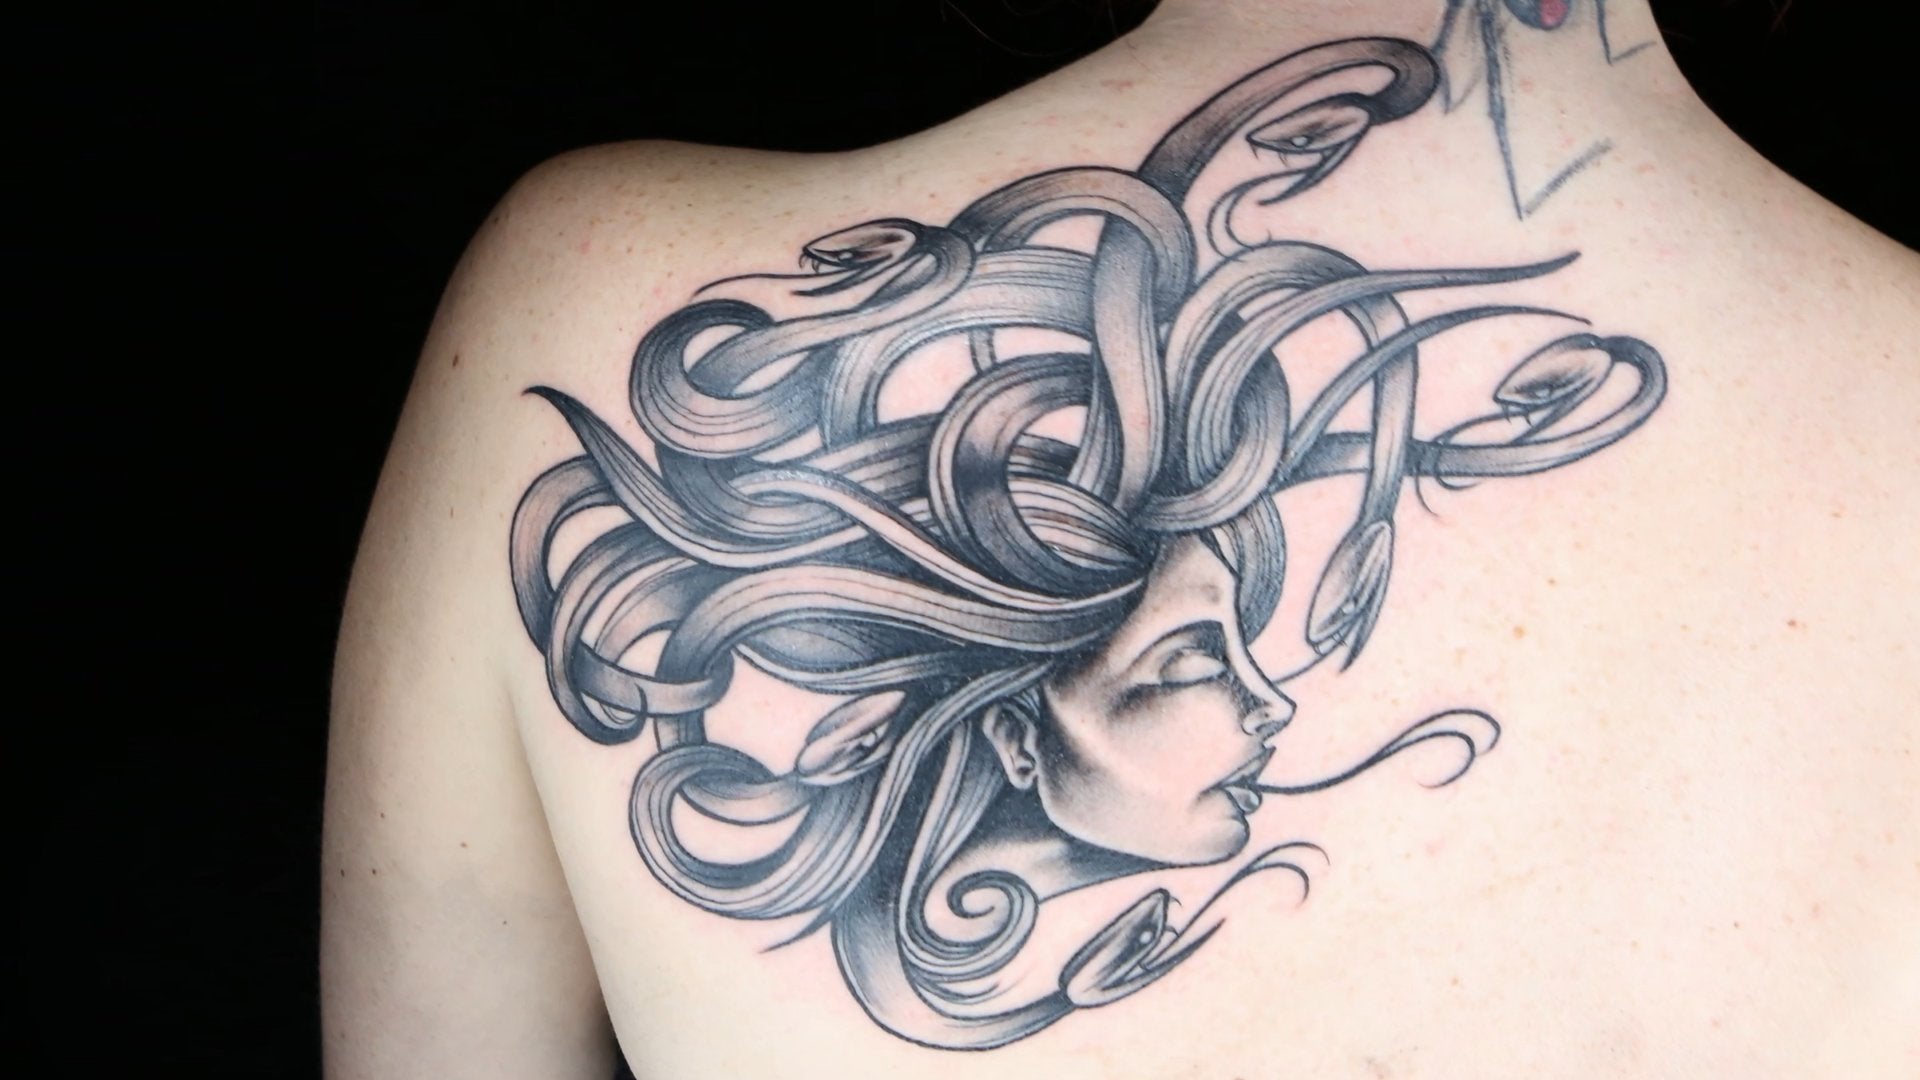
When you look at a truly stunning tattoo, it's not just the outline that grabs your attention—it's the shading. From the soft fades in a black and grey portrait to the vivid color transitions in a sleeve, tattoo shading techniques define the depth, emotion, and realism of a design.
But how do you shade a tattoo properly? Whether you're a beginner or an experienced artist wanting to refine your skills, this guide covers all the essential tattoo shading methods, tools, and styles you need to know.
What Is Tattoo Shading?
Tattoo shading is the process of adding dimension, depth, and texture by varying the tone or color of the ink. While linework forms the structure of a tattoo, shading builds the atmosphere—light, shadow, and shape.
There are many different types of tattoo shading, but they all revolve around the principle of controlling:
- Needle speed
- Machine voltage
- Hand movement
- Ink flow and type
- Skin resistance
Proper shading separates amateur work from professional-grade ink.
Tattoo Shading Styles Explained
Let’s look at the most popular tattoo shading styles used by artists across different genres:
Black and Grey Shading
This is a classic style, using varying tones of black ink (diluted with distilled water or witch hazel) to create soft gradients. Popular in realism and portrait tattoos.

Color Shading
Involves blending two or more colors to achieve a gradient effect. Often used in new school, neo-traditional, or biomechanical tattoos.

Solid Fill
A more aggressive approach, where solid areas are packed with dense black or color. Common in traditional or tribal tattoos.

Stipple Shading (Dotwork)
Thousands of micro-dots form a shaded surface. It’s time-consuming but offers incredible texture.

Core Tattoo Shading Techniques
Here are the most widely-used tattoo shading techniques artists apply depending on the desired result:
Whip Shading
- Move the needle in a whipping motion away from the skin
- Creates soft fades, ideal for light shadows
- Common in black and grey work
Tattoo shading tip: Start deep and lift off as you move to create a natural gradient
Circular Shading
- Move the machine in slow circular motions
- Good for even color packing or smooth grey gradients
- Useful in both realism and new school styles
- Great for large flat surfaces like thighs or backs
Brush Shading
- Similar to whip shading, but with tighter flicks
- Often used with curved magnum needles
- Helps blend background textures seamlessly
Layering
- Multiple passes over the same area with diluted ink
- Best for portraits and soft detail
- Lets you build tone gradually with less skin trauma
Tattoo shading for beginners: Layering is safer and more forgiving than heavy packing.
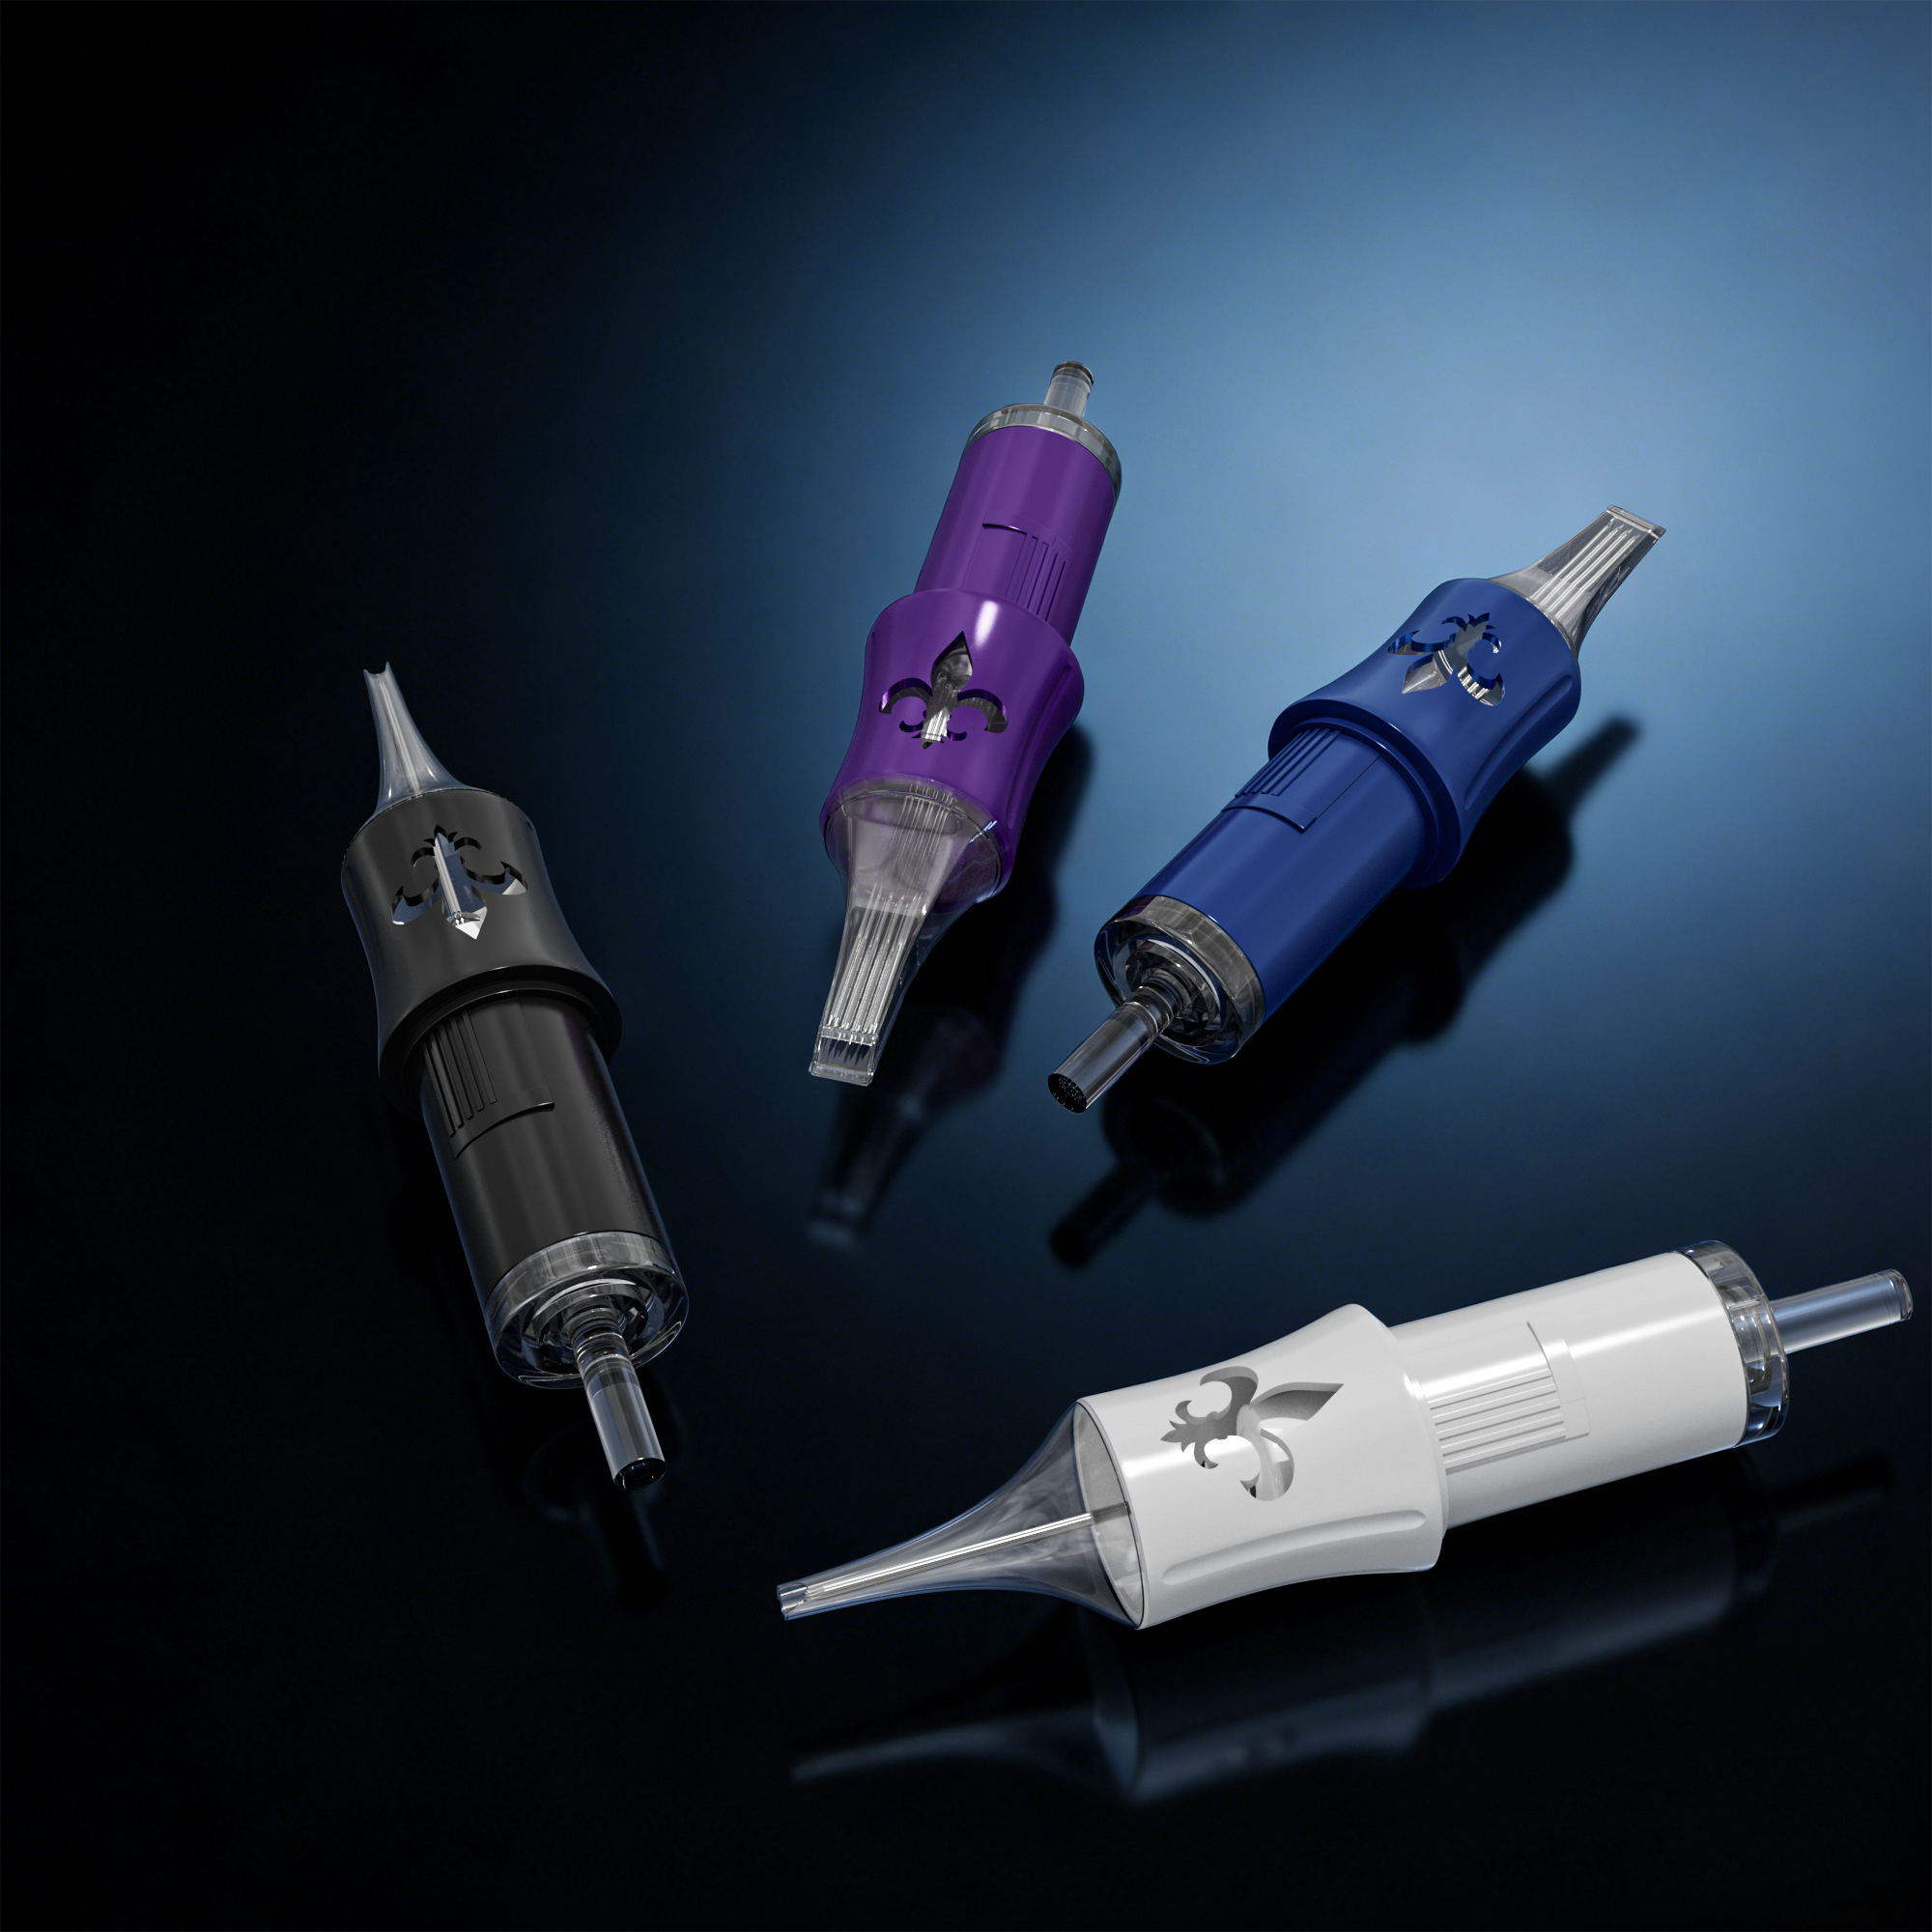
Best Tools for Shading in Tattooing
Your shading results depend not just on technique, but also on the tools you use. Here's a quick breakdown:
| Equipment Type | Best For |
|---|---|
| Curved Magnum Needles (CM) | Soft shading, reduced skin trauma |
| Round Shader Needles (RS) | Small areas, tighter detail work |
| Flat Needles | Color fill, aggressive shading |
| Wireless Tattoo Pen | Consistent depth, less vibration (great for realism) |
| Adjustable Power Supply | Lets you tweak voltage for soft or strong hits |
Also, use high-quality shading ink or grey wash sets with consistent dilution levels.
Tattoo Shading Tips from the Pros
Here are battle-tested tattoo shading tips that can dramatically improve your results:
- Don’t rush: Shading is a layering process, not a one-pass job.
- Use stretch: Pull the skin tight for smoother ink saturation.
- Control depth: Too shallow and the ink fades; too deep and it blows out.
- Watch the tone: Use lighter ink first, then build up contrast.
- Work from dark to light: That way you preserve the brightness of highlights.
Common Tattoo Shading Mistakes (and How to Fix Them)
| Mistake | Solution |
|---|---|
| Overworking the skin | Let areas rest; layer instead of packing deeply |
| Uneven shading | Practice consistent hand speed and pressure |
| Wrong needle choice | Use curved magnums for soft fades |
| Using liner for shading | Always switch to shader needles for soft effect |
| Ignoring skin type | Softer skin = lighter hand, more pass layering |
Tip: Practice your tattooing shading techniques on fake skin first—especially using synthetic 3D models.
How to Shade Around Existing Tattoos
Doing shading around tattoos—such as adding background or expanding existing work—requires extra finesse. You want to:
- Avoid crossing hard lines (unless integrating with new design)
- Match the old shading tone
- Feather edges into untouched skin for a clean gradient
This technique is useful for cover-ups and half-sleeve extensions.
Practice Ideas for Beginners
Here are some tattoo shading for beginners exercises you can do:
- Gradient bars (from black to skin tone) using circular and whip motion
- Sphere shading (mimics 3D lighting and contour)
- Floral shading (petals from dark center to light edge)
- Portrait mock-ups using reference photos on fake skin
Conclusion: Great Shading = Great Tattoos
There’s no shortcut to perfect shading. It takes technique, patience, and tool mastery. Whether you’re blending soft grey backgrounds or packing vibrant color gradients, knowing the right tattoo shading styles and methods is crucial.
Experiment with different tattoo shading techniques, build your muscle memory, and don’t be afraid to slow down. Mastering shading will take your tattoo art from basic to breathtaking.


Share:
Mastering the Art of Realistic Tattoos: Techniques, Styles, and Inspiring Ideas
How to Use Stencil Paper for Tattooing: A Complete Beginner’s Guide